GreenWandering
“Discover the world’s most unique leaves.”
The Unique Challenge of Shipping Anthuriums
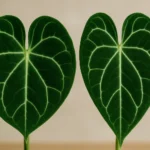
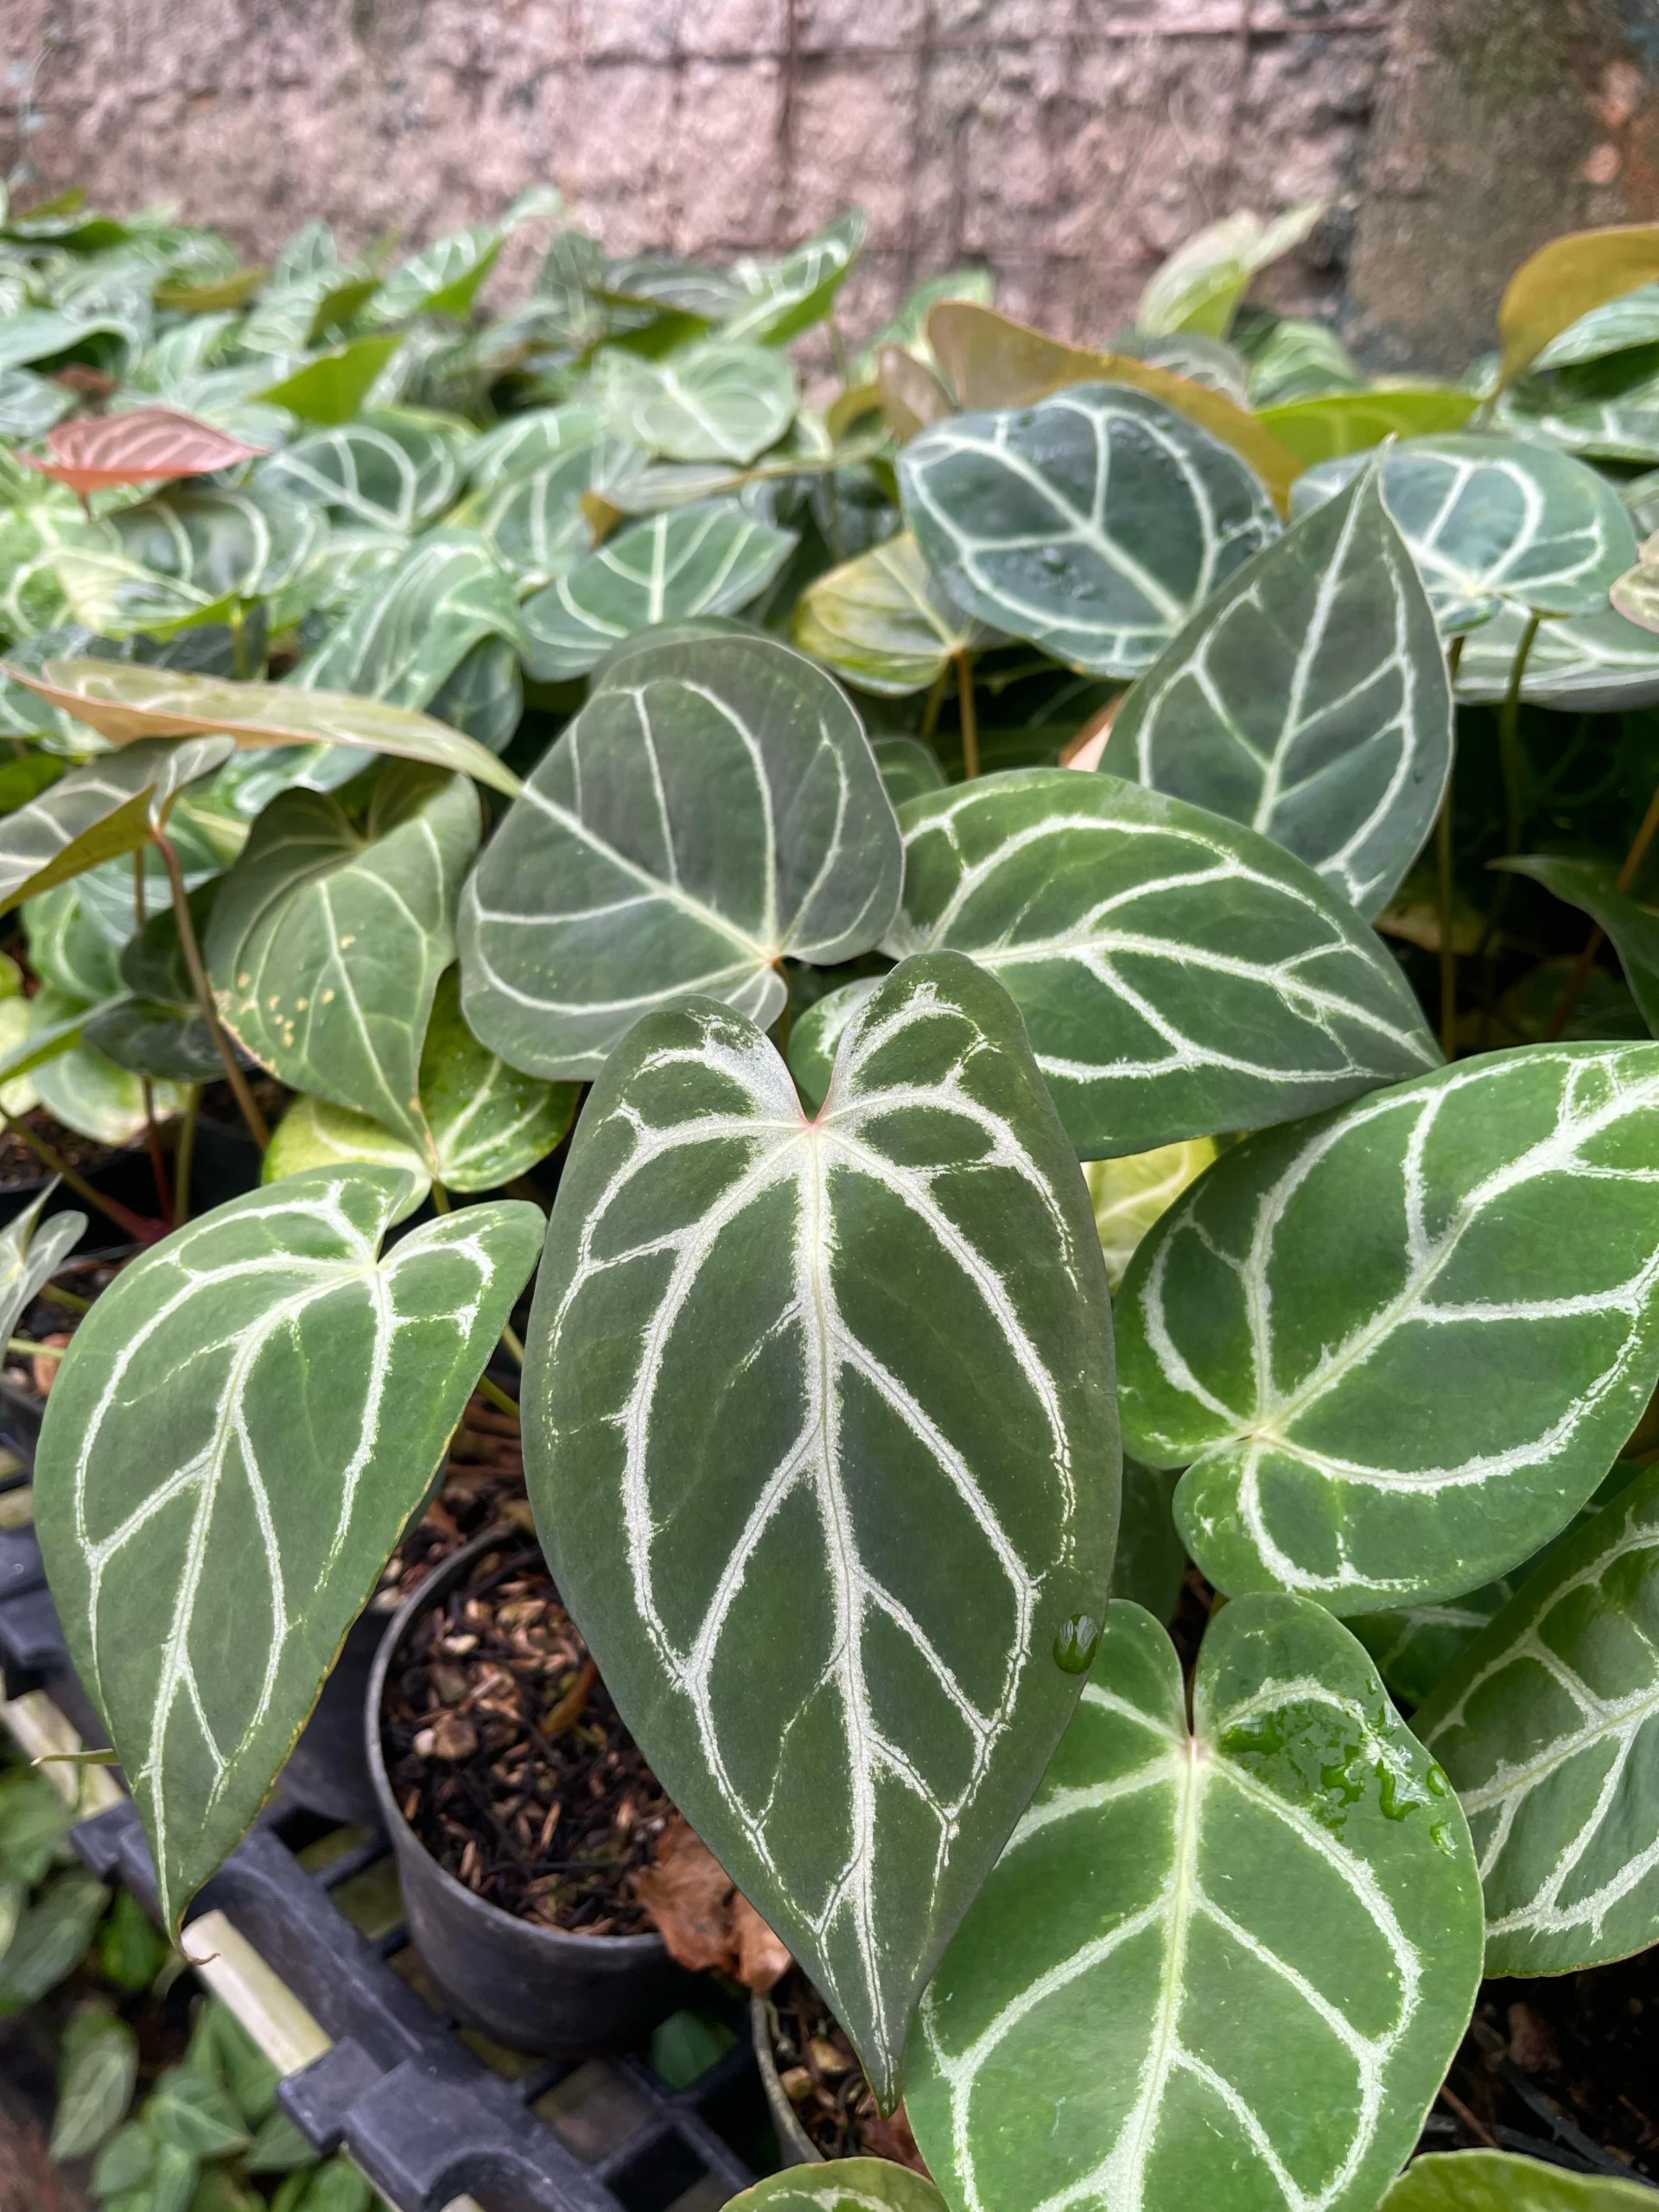
Why are anthuriums so notoriously difficult to ship compared to other houseplants? The answer lies in their unique anatomy. Many prized anthuriums, such as those in the section *Cardiolonchium*, possess either paper-thin, velvety leaves or thick, coriaceous (leathery) foliage on rigid, inflexible petioles. As epiphytes, their structure is adapted for a stable life on a tree, not for tumbling around in a dark box. Esteemed sources like Kew’s Plants of the World Online highlight their incredible diversity, but this also means there is no one-size-fits-all shipping method.
Pre-Shipping Prep: Setting Your Plant Up for Success
A successful shipment begins days before the plant ever sees a box. Proper preparation is 90% of the battle.
Hydration and Soil Moisture
This is a critical first step. **Do not ship a bone-dry or a soaking-wet plant.** A dry plant will be too stressed, while a wet plant is a recipe for root rot in a dark, stagnant box. The ideal is to water the anthurium thoroughly 3-4 days before your planned shipping day. This allows the plant to be fully hydrated, while giving the excess water in the substrate time to evaporate, leaving the soil lightly moist to the touch.
Thorough Pest Inspection
Shipping a plant with pests is a cardinal sin in the collector community. Before you begin packing, conduct a meticulous inspection. Check the undersides of leaves, the base of the petioles, and the topsoil for any signs of common pests like spider mites, thrips, or mealybugs. If you find anything, postpone the shipment and treat the plant accordingly.
Choosing the Right Box and Materials
Gather all your materials before you start. You will need:
- A sturdy, new cardboard box: It should be large enough to leave at least 2-3 inches of buffer space on all sides of the plant.
- Clear plastic wrap or a plastic bag: To secure the root ball and soil.
- Packing tape.
- Bamboo stakes or thin dowels: For petiole and leaf support.
- Soft padding for leaves: Poly-fil (pillow stuffing) is the gold standard. Micro-foam sheets or very soft tissue paper can also work. Avoid paper towels, as they can be abrasive.
- Insulation/filler: Crumbled packing paper or bubble wrap.
- Uni-Heat shipping warmers (heat packs): If shipping in cold weather.
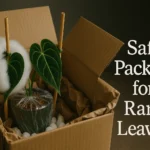
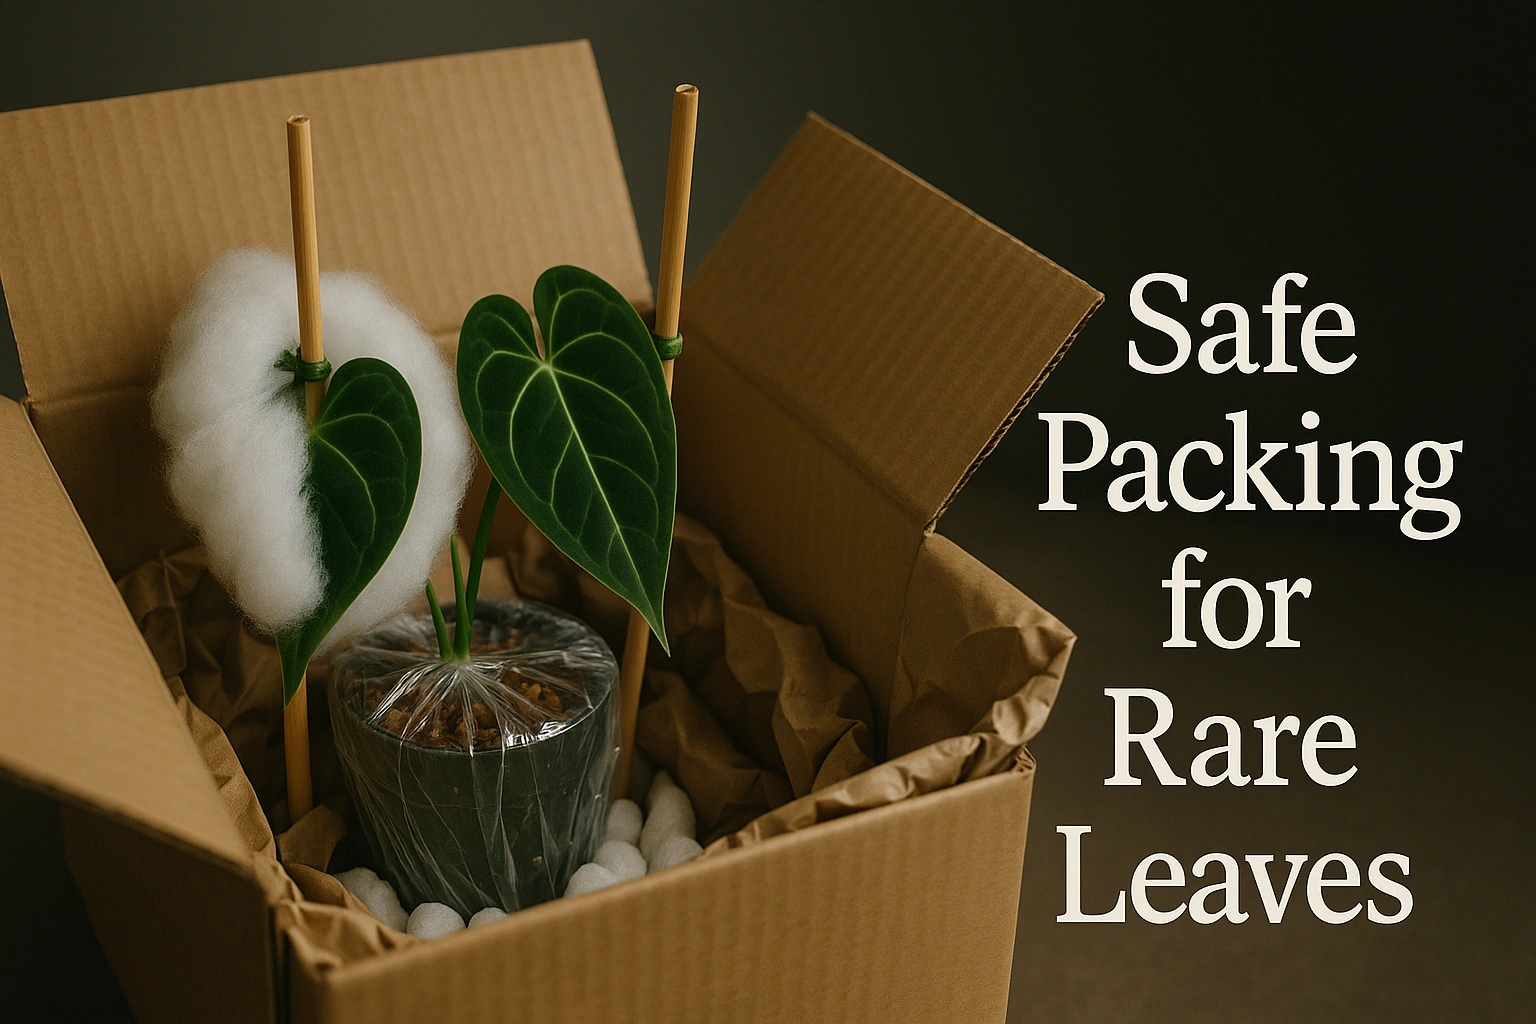
The GreenWandering Professional Packing SOP
Follow these steps methodically for consistent, professional results. This is our proven method for **safe packing**.
Step 1: Secure the Root Ball
Place a layer of poly-fil or a paper towel over the topsoil to prevent it from spilling. Then, using clear plastic wrap, tightly wrap the entire pot, starting from the bottom and working your way up to the base of the plant. Secure it with tape. This locks in moisture and prevents the heavy, wet soil from shifting during transit and damaging the roots or leaves.
Step 2: Stake for Support
This is a vital step for preventing snapped petioles. Carefully insert one or two bamboo stakes into the soil near the center of the pot, being mindful not to damage the main stem or roots. The stakes should be taller than the highest leaf. Gently secure the petioles to the stake with soft plant ties or masking tape. This creates a rigid “spine” that prevents the foliage from whipping around inside the box.
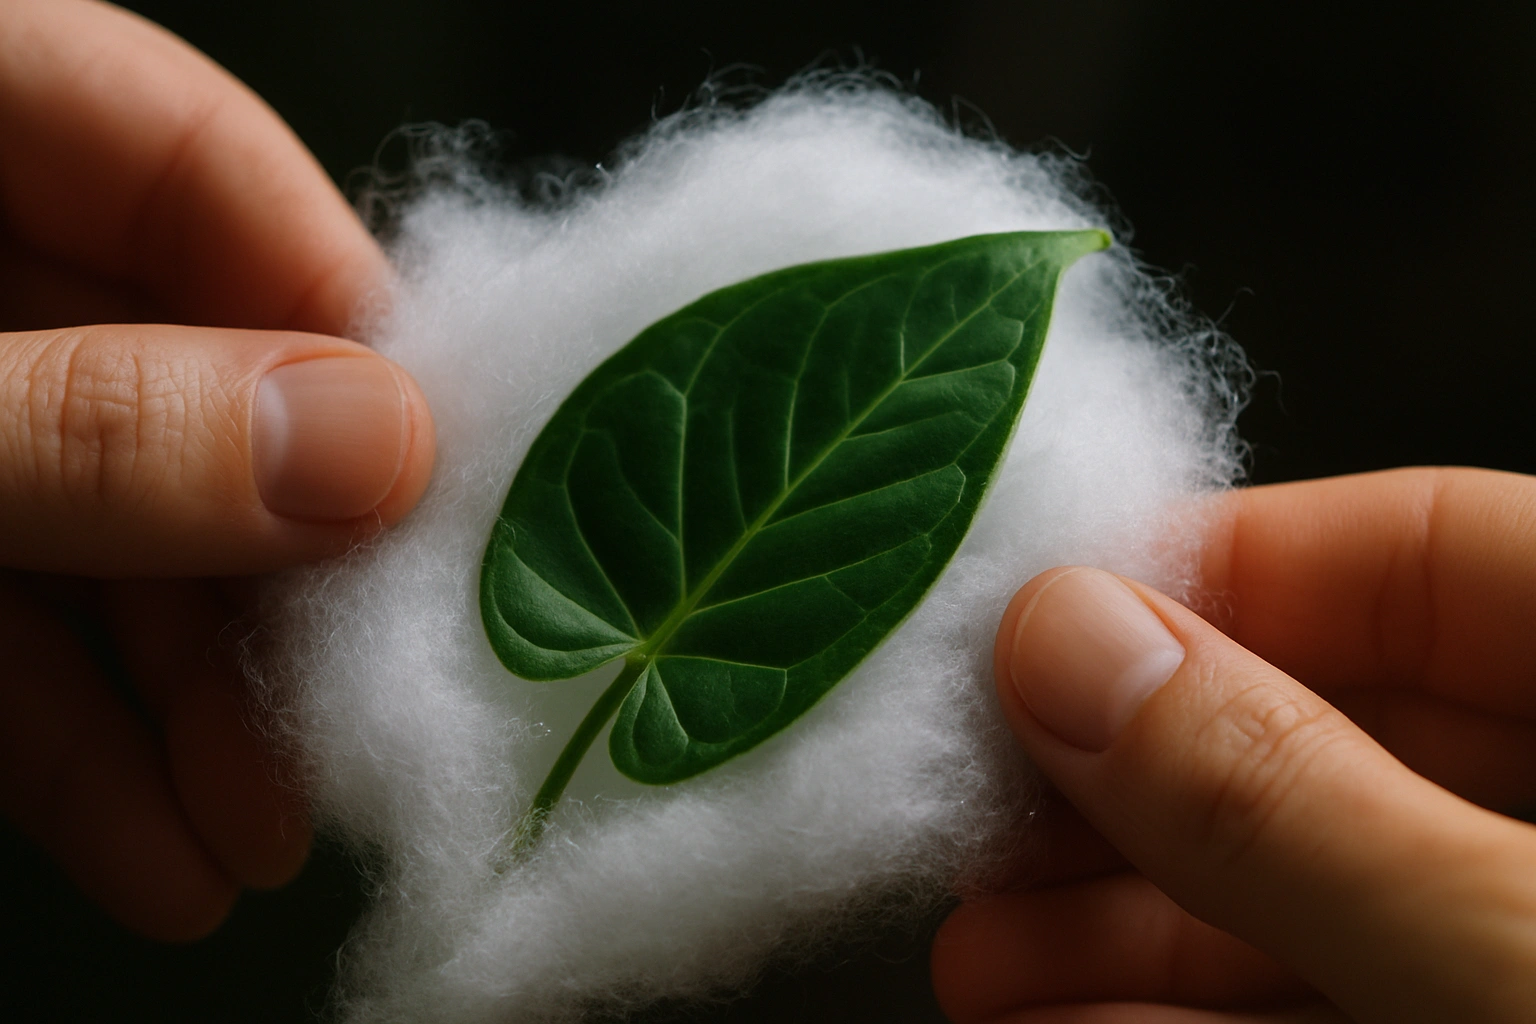
Step 3: Master the Art of Leaf Protection
This is the most crucial part. Gently roll or wrap each individual leaf in a generous amount of poly-fil, creating a soft, fluffy cloud of protection. The goal is to prevent leaves from touching each other, the box walls, or the stakes. Do not wrap them tightly; the air within the fluff is part of the cushion. For larger, flatter-leafed anthuriums, you can tape a bamboo skewer to the back of the petiole and leaf to act as a splint, further preventing bending and creasing.
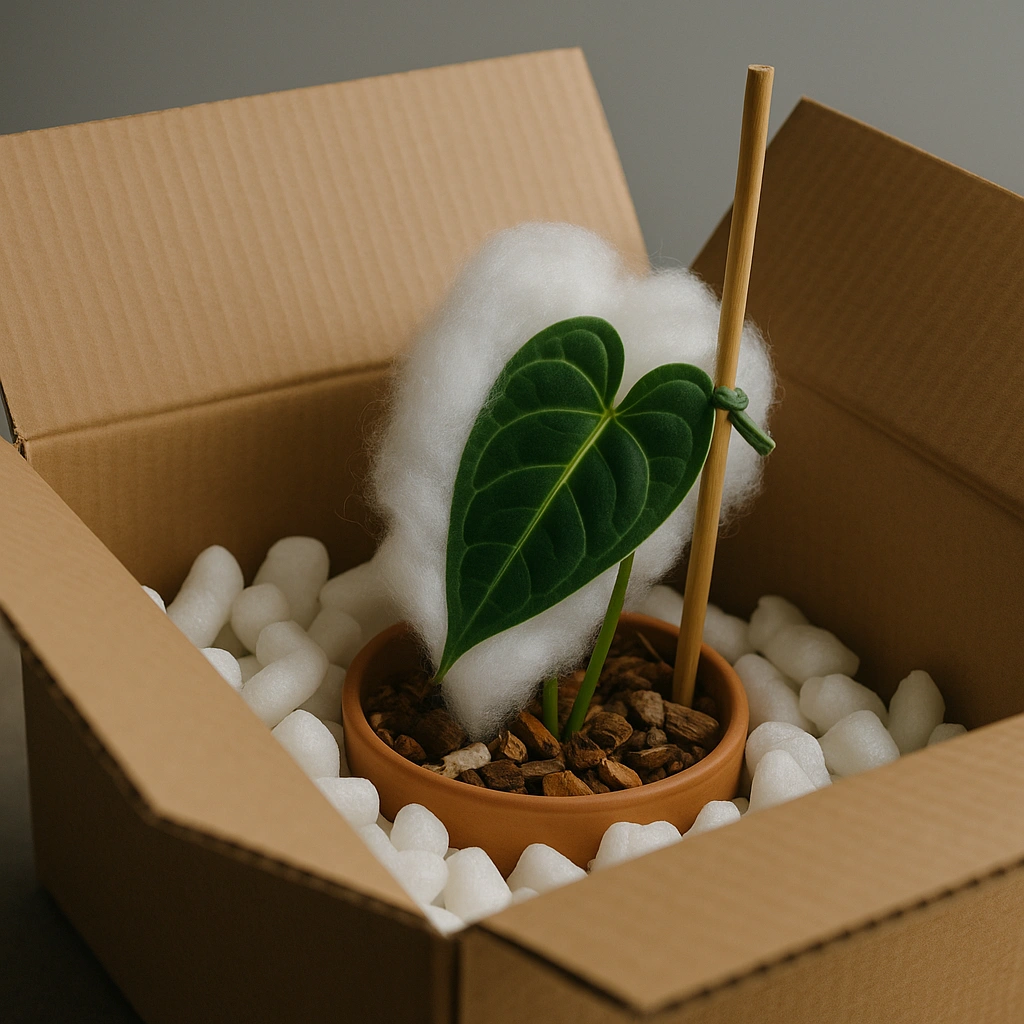
Step 4: Insulate and Secure in the Box
Create a soft nest of crumbled paper at the bottom of the box. Place the wrapped plant inside, ensuring it’s centered. Now, carefully fill all the surrounding empty space with more crumpled paper or other filler material. The plant should be snug and unable to move or tip over if the box is shaken. This buffer is also your primary layer of insulation.
Step 5: Temperature Control with Heat Packs
If temperatures along any part of the route are forecasted to be below 50°F (10°C), the use of **heat packs** is mandatory. Activate a 72-hour+ Uni-Heat pack and wrap it in a few layers of paper. Tape it to the inside wall of the box, ensuring it does not directly touch any part of the plant. Proper insulation is key to making the heat pack effective. Adding a layer of bubble wrap or a thermal mailer as a box liner provides excellent insulation.
Unboxing and Acclimation: The Receiver’s Role
The journey isn’t over when the box arrives. Proper acclimation is essential to help the plant recover from the stress of shipping.
- Unbox Immediately: Open the box right away to allow for fresh airflow.
- Document Everything: Before you unwrap, take photos of the plant in the box. This is crucial evidence if you need to file a claim with the carrier or seller.
- Unwrap with Extreme Care: Slowly and gently remove the packing material. Use scissors to cut tape and ties; never pull.
- Inspect and Quarantine: Check the plant thoroughly for any damage or pests. Keep it isolated from your other plants for at least two weeks.
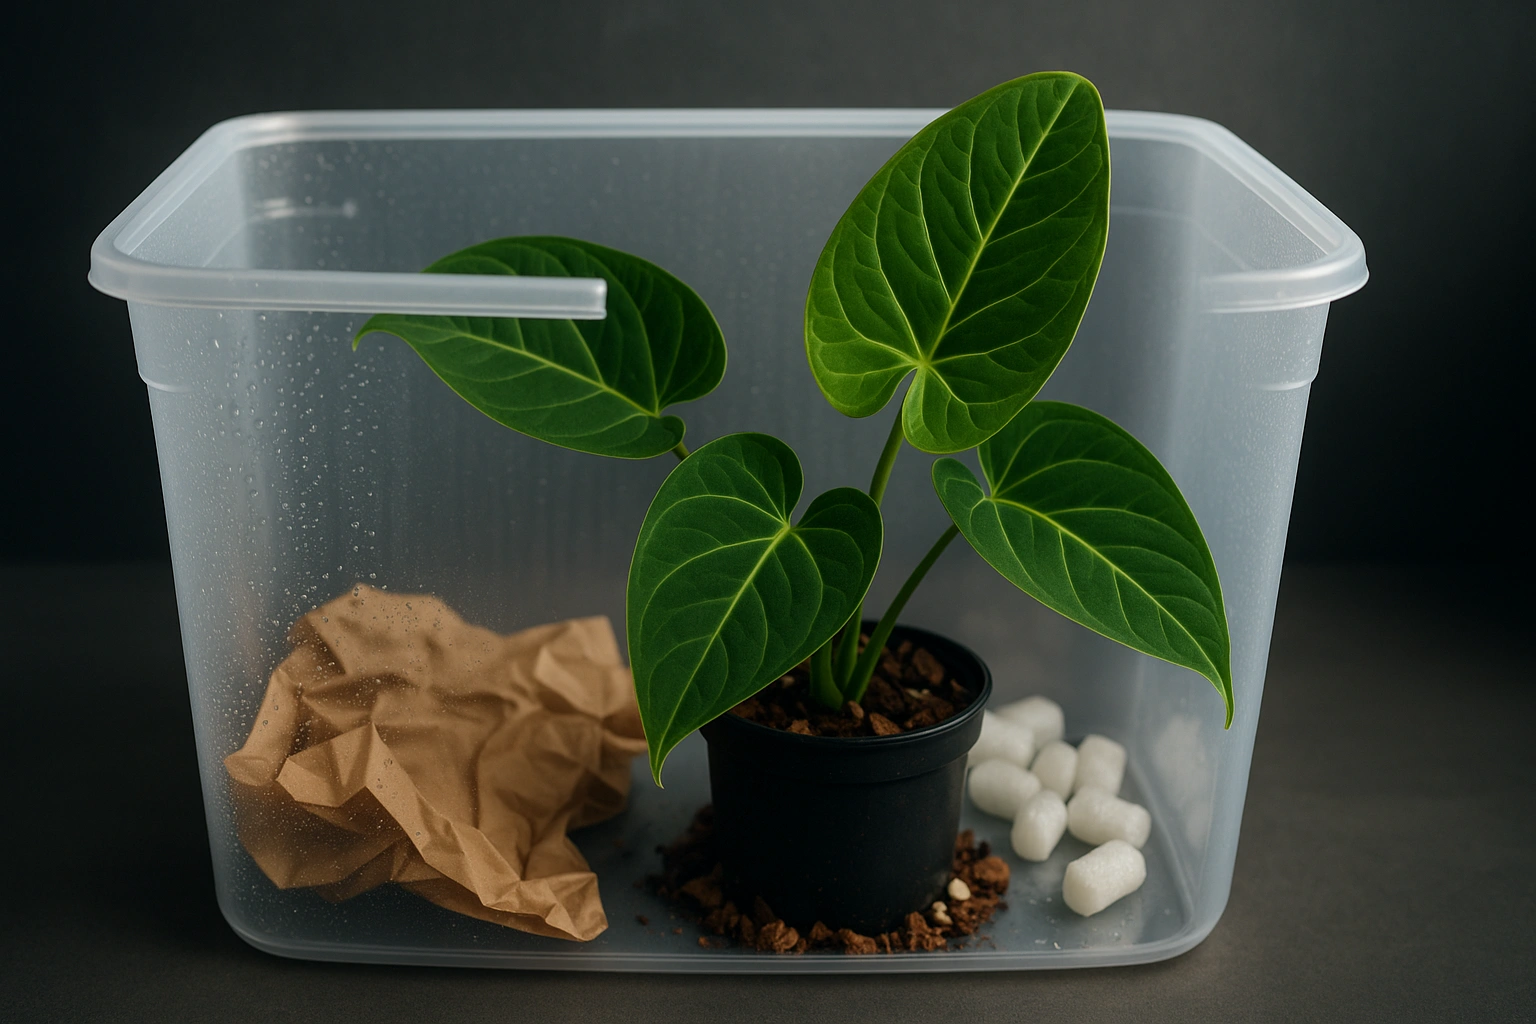
- Provide High Humidity: Place the plant in a high-humidity environment (70%+) to help it recover. A clear storage bin or a spot next to a humidifier is perfect.
- Do Not Repot or Fertilize: Resist the urge to immediately repot or feed it. The plant is stressed. Allow it to acclimate for at least 4-6 weeks. A proper nutrition plan, like our anthurium fertilizer guide, can wait.
Frequently Asked Questions (FAQ)
What’s the best day of the week to ship an anthurium?
Always ship on a Monday or Tuesday using a 2-3 day shipping service. This prevents the package from getting stuck in a warehouse over the weekend, which is one of the biggest risks for plant health due to temperature fluctuations and lack of light.
When should I use a heat pack for shipping anthuriums?
Use a 72-hour or 96-hour heat pack if temperatures anywhere along the shipping route (origin, transit hubs, or destination) are expected to drop below 50°F (10°C). It’s crucial for protecting the plant from cold damage, which can be irreversible. Guidance from horticultural bodies like the Royal Horticultural Society (RHS) often emphasizes the importance of protecting tropicals from cold.
Should I water my anthurium right before packing it?
No, never ship a freshly watered plant. The excess moisture can lead to root rot in the dark, low-airflow environment of a shipping box. The ideal is to ship with soil that is lightly moist but not wet. Water a few days before shipping to allow the excess to drain and evaporate.
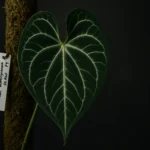
How do I protect delicate velvet anthurium leaves during shipping?
The key is to prevent anything from rubbing against the leaf surface. Gently wrap each leaf in soft material like micro-foam or poly-fil, creating a fluffy cloud of protection. Ensure the packing material is breathable and doesn’t compress the delicate texture.
My anthurium arrived with yellow leaves. What should I do?
A small amount of shipping stress, like one or two yellowing lower leaves, is normal. Do not panic. Place the plant in a location with high humidity and gentle, indirect light. Do not repot or fertilize it for at least a month. Only remove the yellow leaf once it is fully withered and detaches easily.
Conclusion: Ship with Confidence, Not Hope