GreenWandering
“Discover the world’s most unique leaves.”
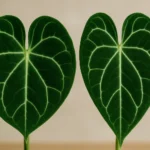
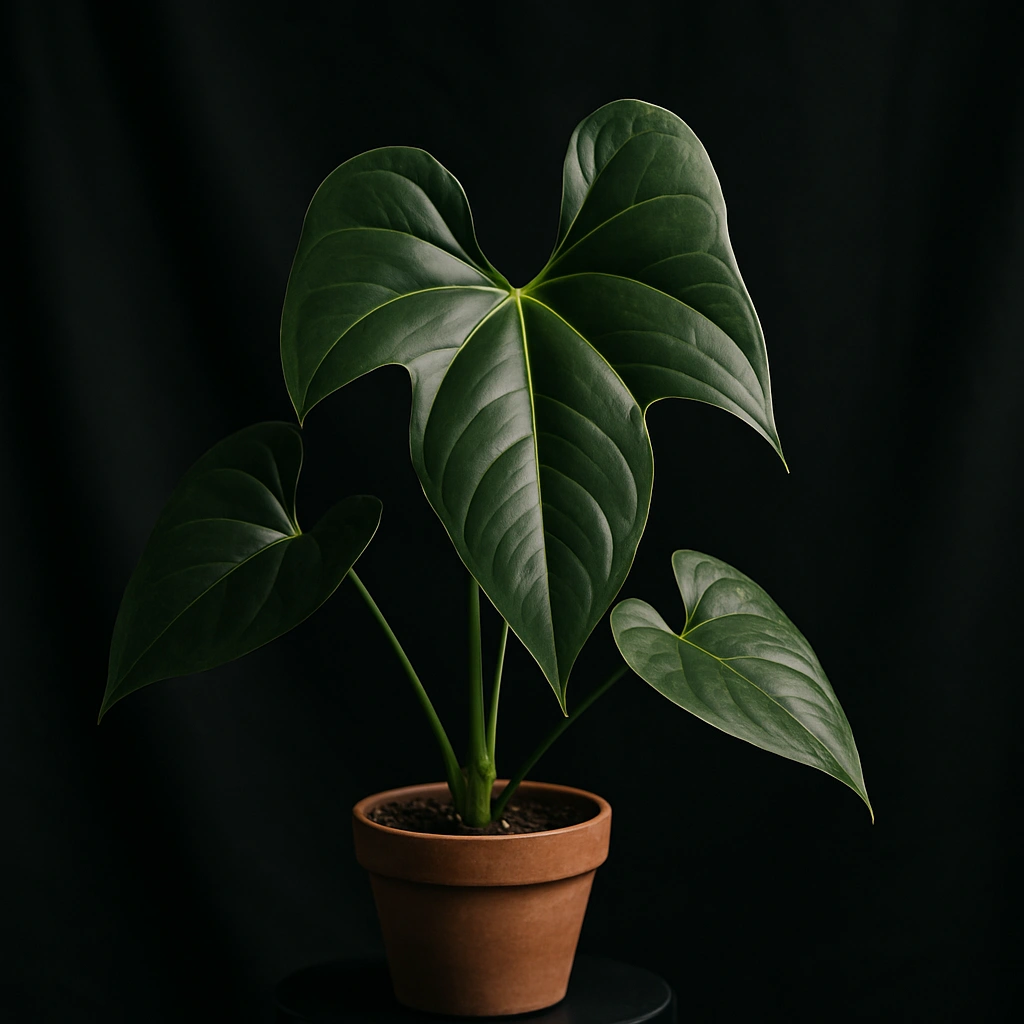
The Unique Challenge of Photographing Anthuriums
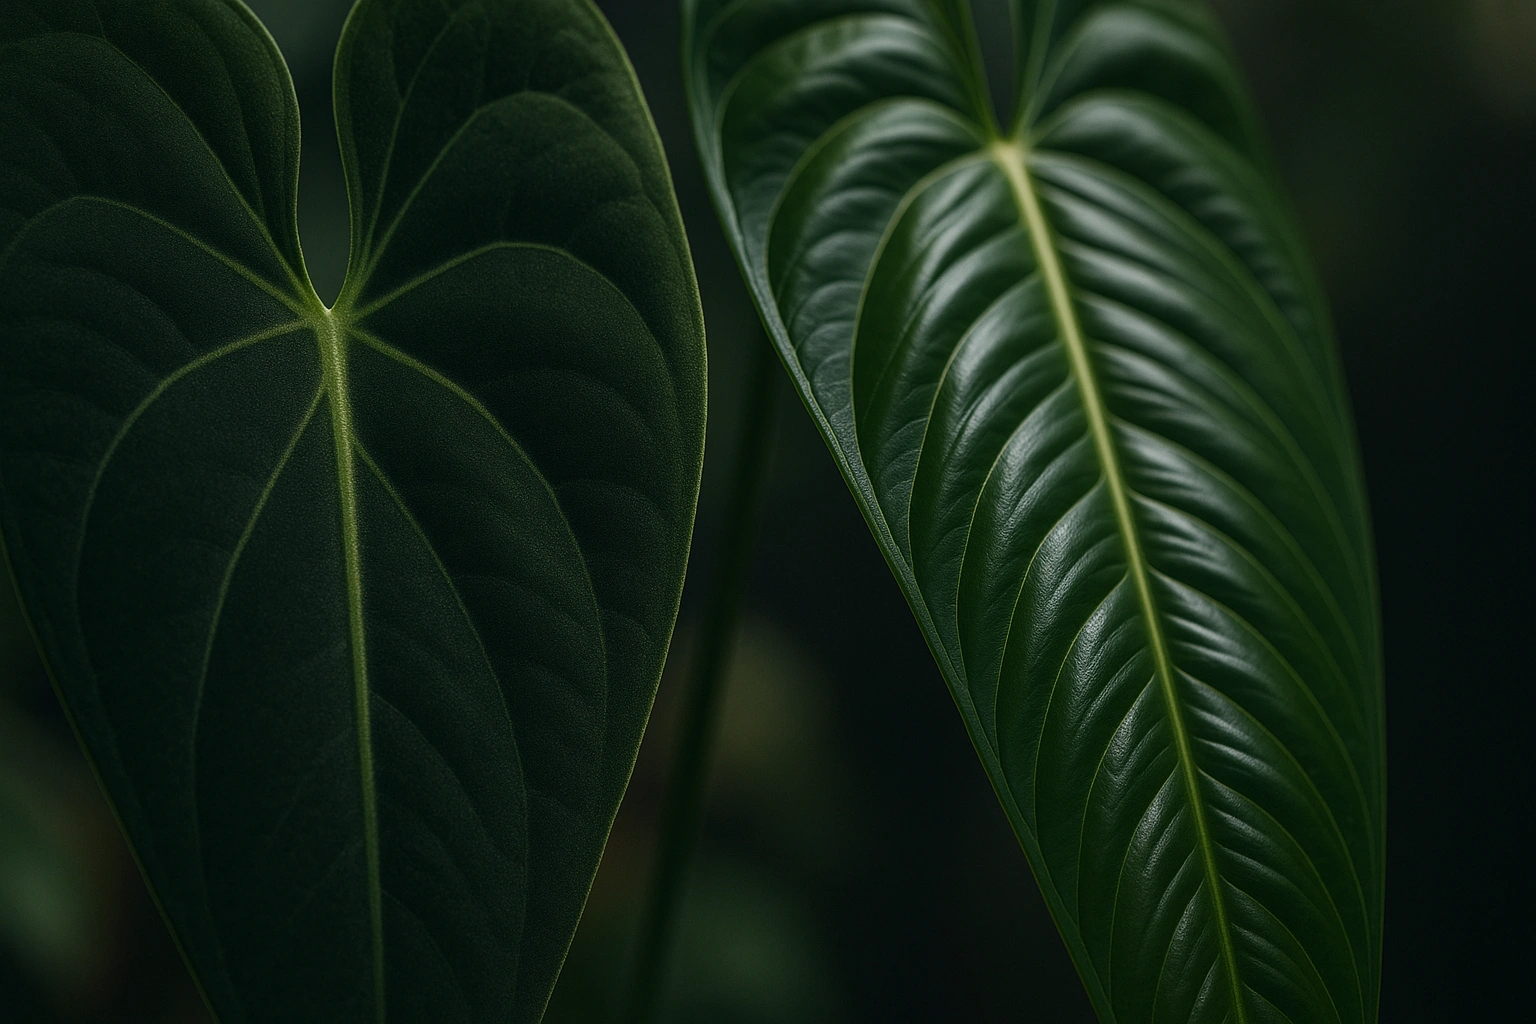
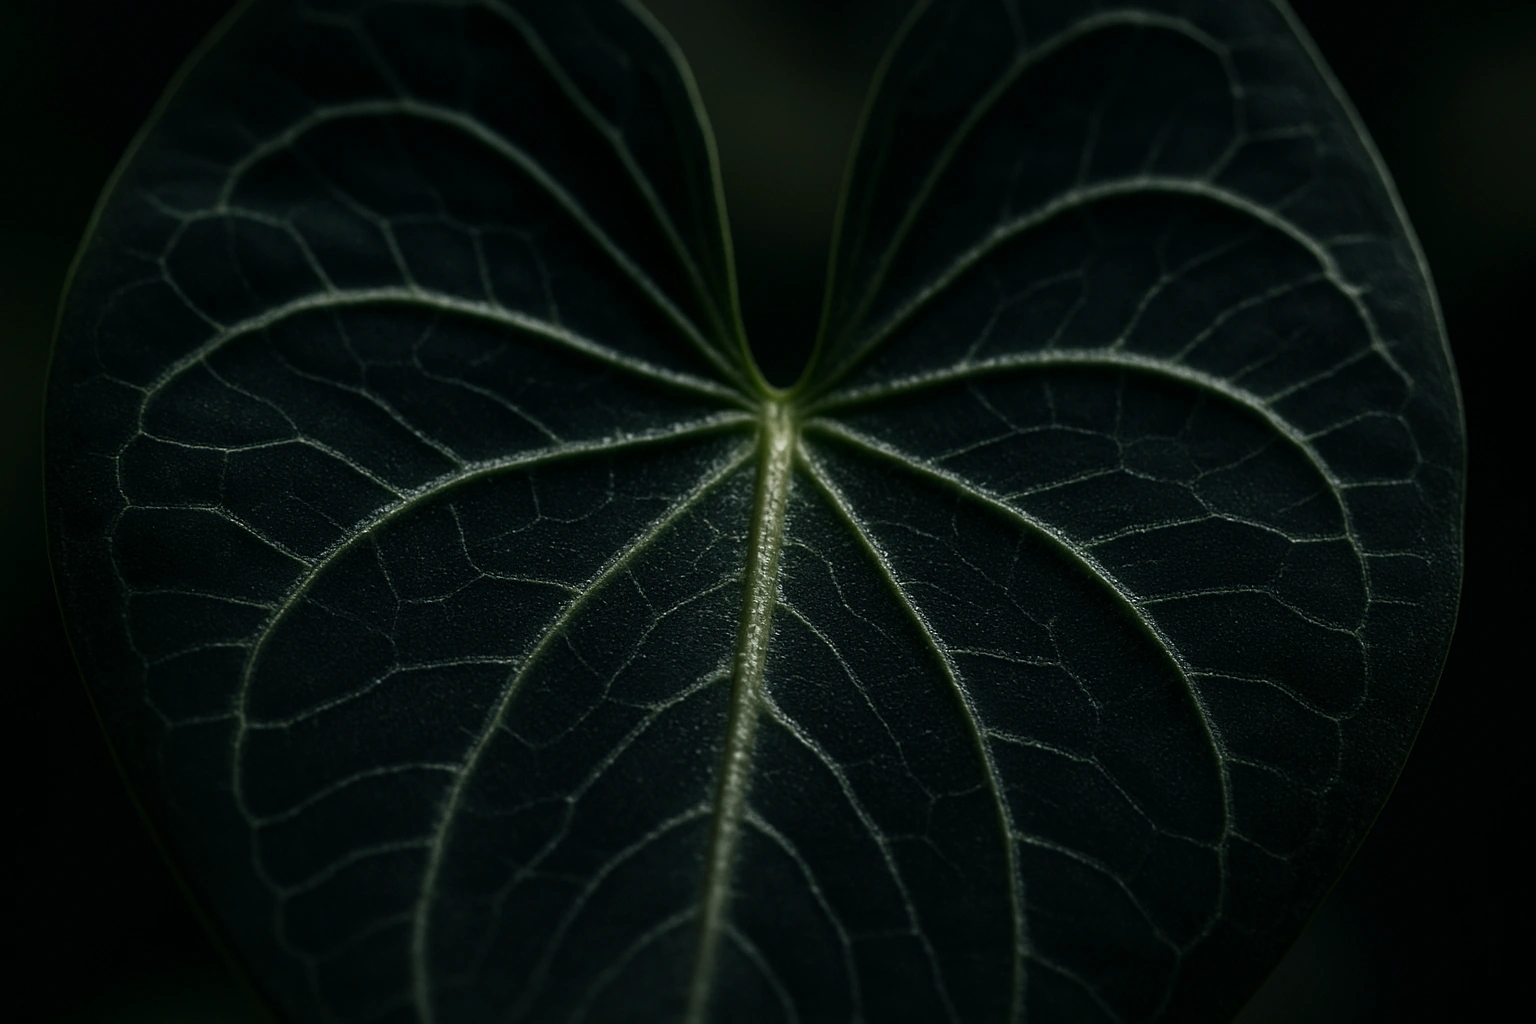
Anthuriums, especially the collector varieties, are notoriously difficult subjects. Their unique leaf characteristics are precisely what make them hard to capture. Dark, velvety leaves, like those on our guide to the Anthurium pterodactyl, tend to absorb light, making it difficult to expose the shot correctly without losing detail in the shadows. Glossy leaves create distracting reflections, and the subtle, shifting colors of emergent growth can be lost if the white balance isn’t perfect.
Understanding that you’re photographing a complex surface—not just a green leaf—is the first step. According to botanical resources like Kew’s Plants of the World Online or the Missouri Botanical Garden, the diversity within the *Anthurium* genus is immense, and so are the photographic challenges. Our goal is to control the environment to let these features shine.
Essential Gear for High-Impact Macro Shots
Camera & Lenses
A DSLR or mirrorless camera that allows you to shoot in Manual mode and RAW format gives you the most control. The real game-changer, however, is a dedicated **macro lens** (typically in the 50mm to 100mm range). This allows you to get incredibly close to the leaf and capture stunning detail without distortion.
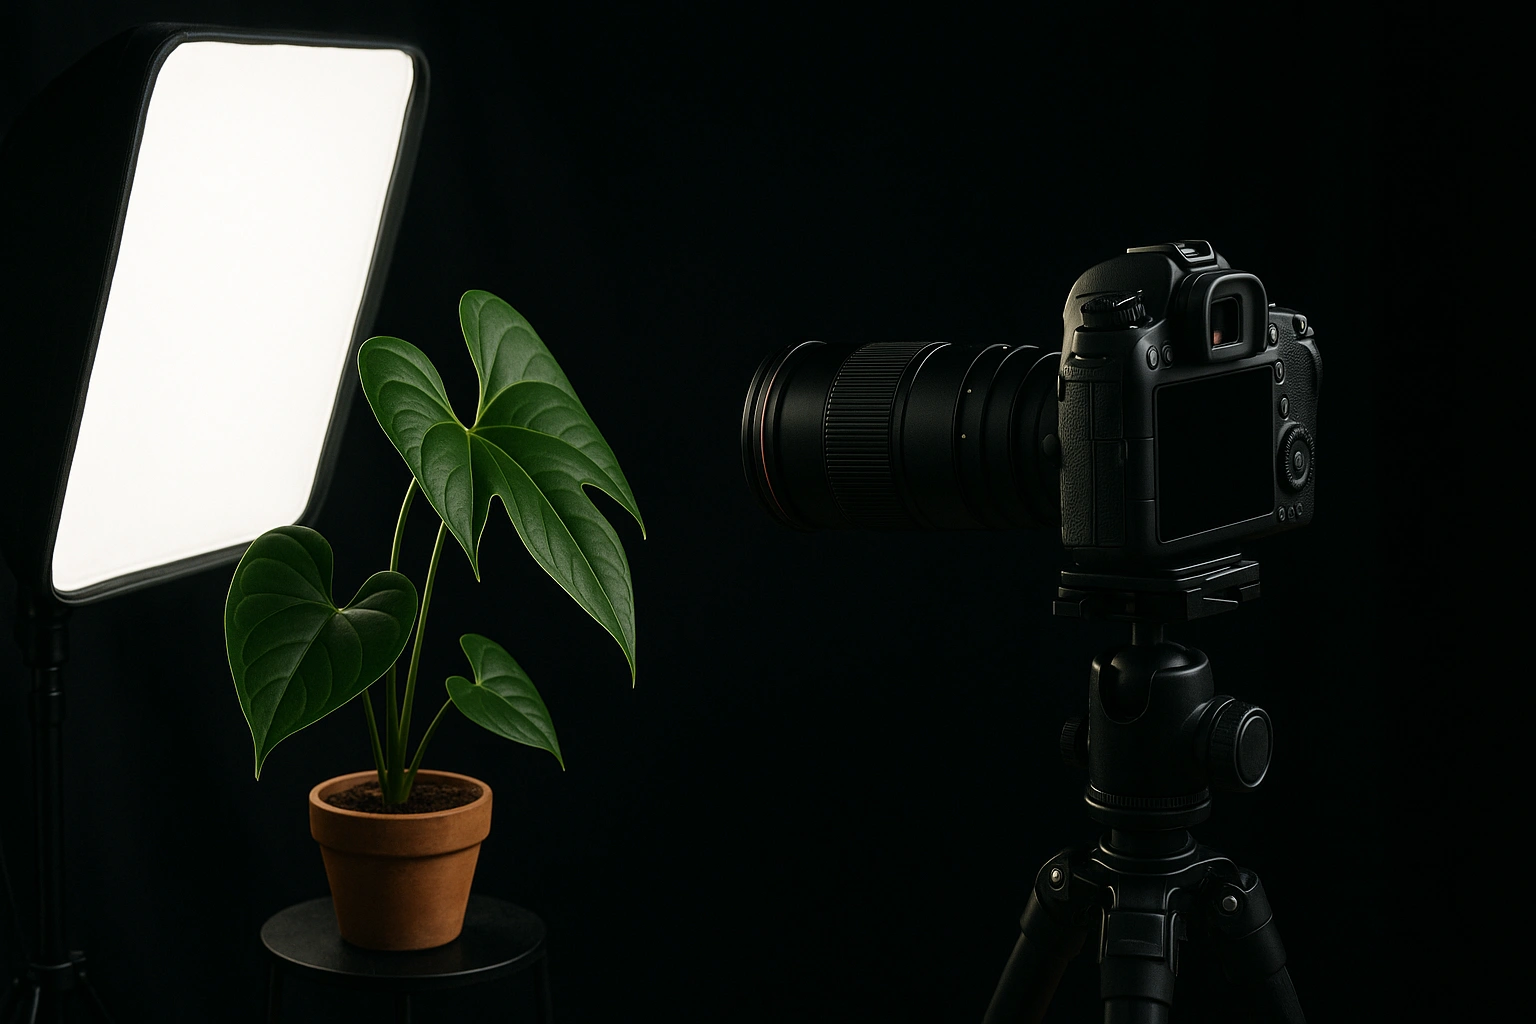
Lighting is Everything
Never use your camera’s built-in flash—it creates harsh, ugly reflections. Instead, focus on soft, diffused light. An **off-camera flash** with a small softbox or a **ring light** can provide beautiful, even lighting. For a budget-friendly option, a simple white foam board can be used as a reflector to bounce natural light back into the shadows.
Stability: The Key to Sharpness
When shooting macro, even the slightest movement can result in a blurry photo. A sturdy **tripod** is non-negotiable for sharp, professional-looking images. It allows you to use slower shutter speeds to let in more light without worrying about camera shake.
Mastering Greenhouse & Indoor Lighting
Your environment dictates your lighting strategy. Whether you’re in a bright greenhouse or a dim living room, color accuracy depends on how you manage the light.
Harnessing Natural Light
The best natural light for plant photography is bright but indirect. Place your plant near a large window with a sheer curtain to diffuse the sunlight. An overcast day is a photographer’s best friend, as the clouds act as a giant natural softbox, providing even, gentle light that makes colors pop without harsh shadows.
Creating an Artificial Light Setup
When natural light isn’t enough, you can create your own. A simple one-light setup works wonders. Place your light source (like a softbox or LED panel) at a 45-degree angle to the plant. Then, place a white reflector on the opposite side to fill in any shadows. This technique, known as “key and fill,” creates dimension and brings out texture.
Camera Settings for True-to-Color Results
Shooting in Manual mode (M) is the goal. Here are the three settings you need to master for **color accuracy**.
- White Balance (WB): This is the most crucial setting for color. Don’t use Auto WB. Use a preset like “Daylight” or “Cloudy,” or better yet, learn to set a custom white balance using a gray card. This tells your camera what true white looks like in your specific lighting, ensuring all other colors are rendered accurately.
- Aperture (f-stop): For macro shots, you’ll want a larger depth of field to get more of the leaf in focus. Start with an aperture of f/8 or f/11. A lower f-number (like f/2.8) will create a very shallow depth of field, where only a tiny slice of the leaf is sharp.
- ISO: Keep your ISO as low as possible (e.g., 100 or 200) to avoid grainy noise in your photos. Because you’re using a tripod, you can compensate for the low ISO by using a slower shutter speed without introducing blur.
Post-Processing: Enhancing, Not Falsifying
Editing is where you bring your vision to life, but the goal is authenticity. Shoot in **RAW format**, as it captures much more data than a JPEG, giving you far more flexibility to adjust color and exposure without losing quality.
In software like Adobe Lightroom or Capture One, your primary adjustments should be minor tweaks to exposure, contrast, and, most importantly, white balance. The goal is to make the photo look exactly like the plant does in real life. Avoid over-saturating colors or adding artificial effects that misrepresent the plant. For more tips on plant health to ensure they are photo-ready, the Royal Horticultural Society (RHS) is an excellent resource.
Common Mistakes in Anthurium Photography (and How to Fix Them)
- Using Direct On-Camera Flash: Creates harsh reflections and flat light. **Fix:** Use diffused natural light or an off-camera softbox.
- Incorrect White Balance: Makes leaves look too blue or too yellow. **Fix:** Set a custom white balance using a gray card.
- Busy, Distracting Backgrounds: Takes focus away from the plant. **Fix:** Use a simple black or neutral backdrop, or a wide aperture (low f-stop) to blur the background.
- Shooting from a Standing Position: A boring, expected angle. **Fix:** Get down on the plant’s level. Shoot from the side, from below, or straight down to find unique perspectives.
- Relying on Auto Mode: The camera makes guesses that are often wrong for complex subjects. **Fix:** Learn the basics of Manual mode to take full control of your settings.
Frequently Asked Questions (FAQ)
Can I do good anthurium photography with just a phone?
Absolutely. Modern smartphones have excellent cameras. Use macro mode, find good natural light, and tap to focus on the most important detail. Avoid using the phone’s digital zoom or flash for the best results.
What’s the best time of day to photograph plants?
The ‘golden hour’—the first hour after sunrise and the last hour before sunset—provides soft, warm light. Overcast days are also fantastic as the clouds act as a giant diffuser, creating even, soft light perfect for capturing color without harsh shadows.
How do I avoid shaky, blurry macro shots?
A tripod is the best solution. If you don’t have one, brace your hands or camera against a stable surface like a table. You can also use your camera’s self-timer (2-second delay) to avoid camera shake from pressing the shutter button.
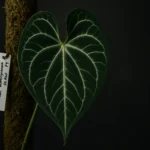
Why do the dark leaves of my anthurium look gray or noisy in photos?
This is often caused by the camera struggling in low light, forcing a high ISO which creates noise (graininess). The solution is to add more light—move closer to a window, use a reflector to bounce light back, or add a soft artificial light source. Shooting in RAW format also gives you more flexibility to correct this in post-processing.
Should I mist my anthurium leaves before taking photos?
This is a stylistic choice. A light misting can add a fresh, dewy look and highlight the texture of the leaves. However, be careful not to overdo it, as large water droplets can be distracting or create unwanted reflections. For capturing pure color and texture, a dry leaf is often better.
Conclusion: Capturing the True Essence
Now, pick up your camera, find your best-looking leaf, and start practicing. The perfect shot is waiting for you. To see our latest work, visit our Projects page, and feel free to contact us for collaborations or inquiries.