GreenWandering
“Discover the world’s most unique leaves.”
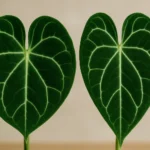
Why Fertilizing Anthuriums is a Delicate Balance
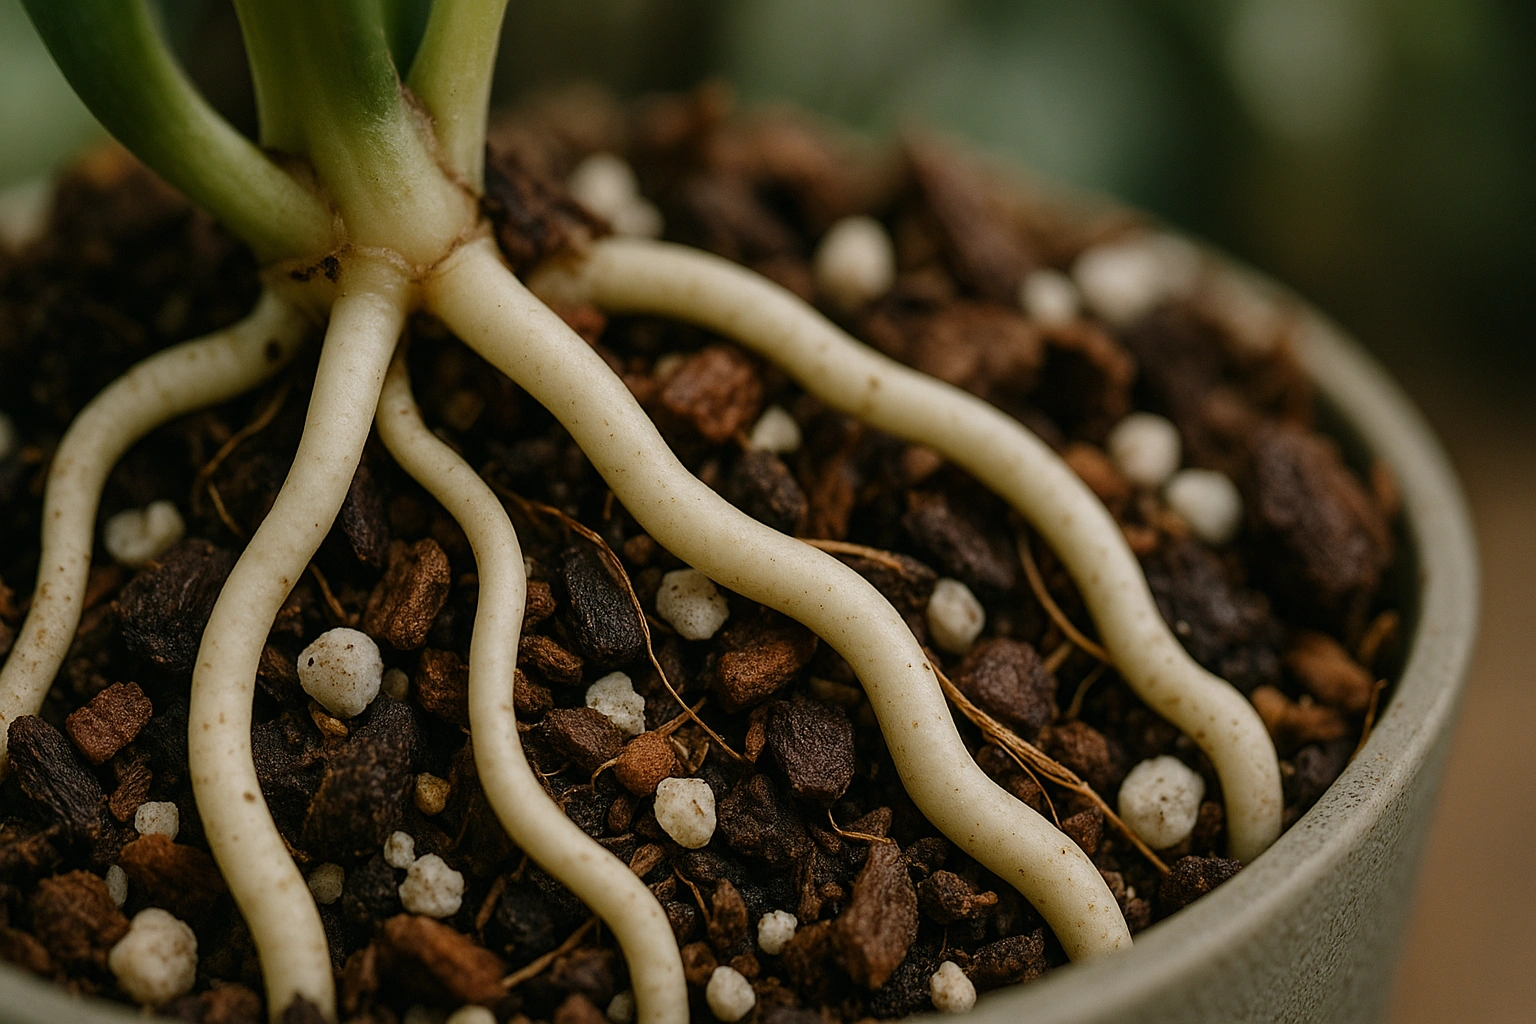
In their native habitat, anthuriums are light feeders. They derive nutrients from decaying organic matter, bird droppings, and rainwater that washes down the trunks of trees. Their root systems, as detailed by botanical resources like the Missouri Botanical Garden, are designed for quick uptake and high aeration, not for sitting in nutrient-dense soil. This is why our approach to fertilizing them in pots must be fundamentally different from that for typical houseplants.
Decoding Fertilizer Labels: N-P-K and the Crucial Micronutrients
Understanding what’s inside your fertilizer bottle is the first step. While the three big numbers get all the attention, it’s the hidden ingredients that often make the biggest difference for anthuriums.
The Big Three: Macronutrients (N-P-K)
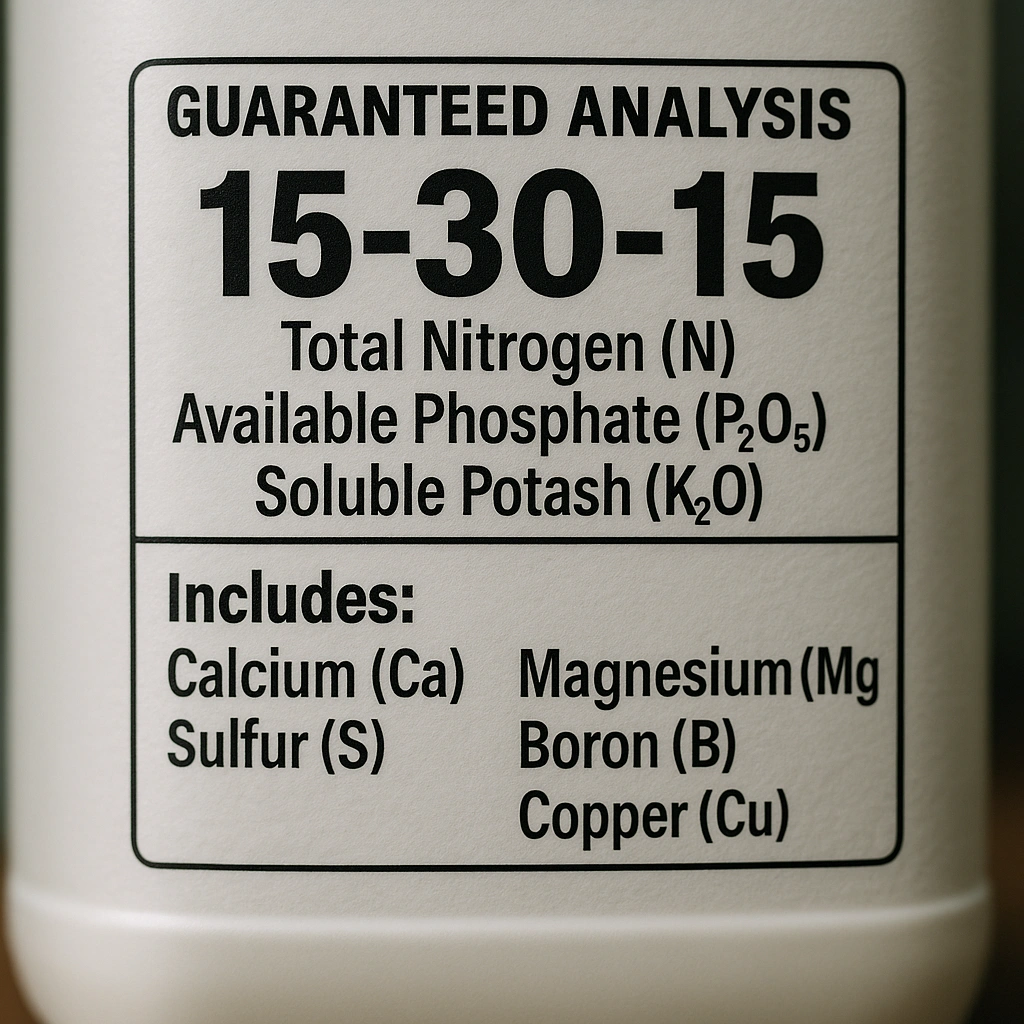
Every fertilizer label features three numbers, representing Nitrogen (N), Phosphorus (P), and Potassium (K).
- Nitrogen (N): The engine of vegetative growth. Nitrogen is a key component of chlorophyll, making it responsible for the deep green color and size of the leaves.
- Phosphorus (P): Focuses on energy transfer, root development, and flowering. A strong root system is the foundation for a healthy plant.
- Potassium (K): The regulator. Potassium helps with overall plant function, disease resistance, and water regulation within the plant cells.
A balanced fertilizer (e.g., 20-20-20, 10-10-10) is generally a good starting point for anthuriums, as it doesn’t push one type of growth at the expense of others.
The Overlooked Heroes: Essential Micronutrients
This is where many basic fertilizers fall short and where anthurium problems often begin. **Micronutrients** are needed in tiny amounts, but their absence can cause major issues, especially in soilless, chunky potting mixes which contain no natural nutrients. The most important ones for anthuriums include:
- Calcium (Ca): Absolutely critical for building strong cell walls. A calcium deficiency is a primary cause of new leaves emerging small, stuck, or deformed.
- Magnesium (Mg): The central atom in the chlorophyll molecule. A lack of magnesium can cause yellowing between the leaf veins (interveinal chlorosis), especially on older leaves.
- Sulfur (S): Essential for protein synthesis and enzyme function.
- Boron (B): Works with calcium in cell wall formation and is vital for new growth points.
- Iron (Fe): Another key player in chlorophyll synthesis. Deficiency often shows as yellowing on new growth.
When choosing a fertilizer, actively look for one that boasts a complete range of micronutrients, or be prepared to use a separate Cal-Mag supplement.
Choosing the Best Type of Anthurium Fertilizer
There are several formulations available, but one stands out for its control and effectiveness for epiphytic plants.
Liquid Fertilizers: The Gold Standard
Water-soluble liquid fertilizers are the preferred choice for most anthurium collectors. They offer precise control over concentration and are absorbed quickly by the roots. Look for formulas that are “urea-free,” as urea can be harsh on the sensitive roots of epiphytes. The ability to dilute them easily makes them perfect for the “weakly, weekly” feeding method.
Slow-Release Pellets: Convenience with a Caveat
Granular, slow-release fertilizers (like Osmocote) can be a convenient option. They are coated pellets that release nutrients gradually over several months each time you water. However, they offer less control. The release rate can be affected by temperature and watering habits, potentially leading to inconsistent feeding or a sudden dump of nutrients. If you use them, be conservative and choose a formulation with a 3-6 month release time.
Organic Options: Gentle but Variable
Organic fertilizers like worm castings, fish emulsion, or seaweed extracts are excellent for improving the overall health of the substrate. They provide a wide range of trace minerals and beneficial microbes. However, their nutrient concentration can be variable and they work more slowly. Many collectors use them as a supplement alongside a primary synthetic fertilizer to get the best of both worlds.
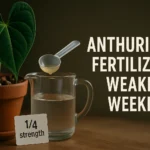
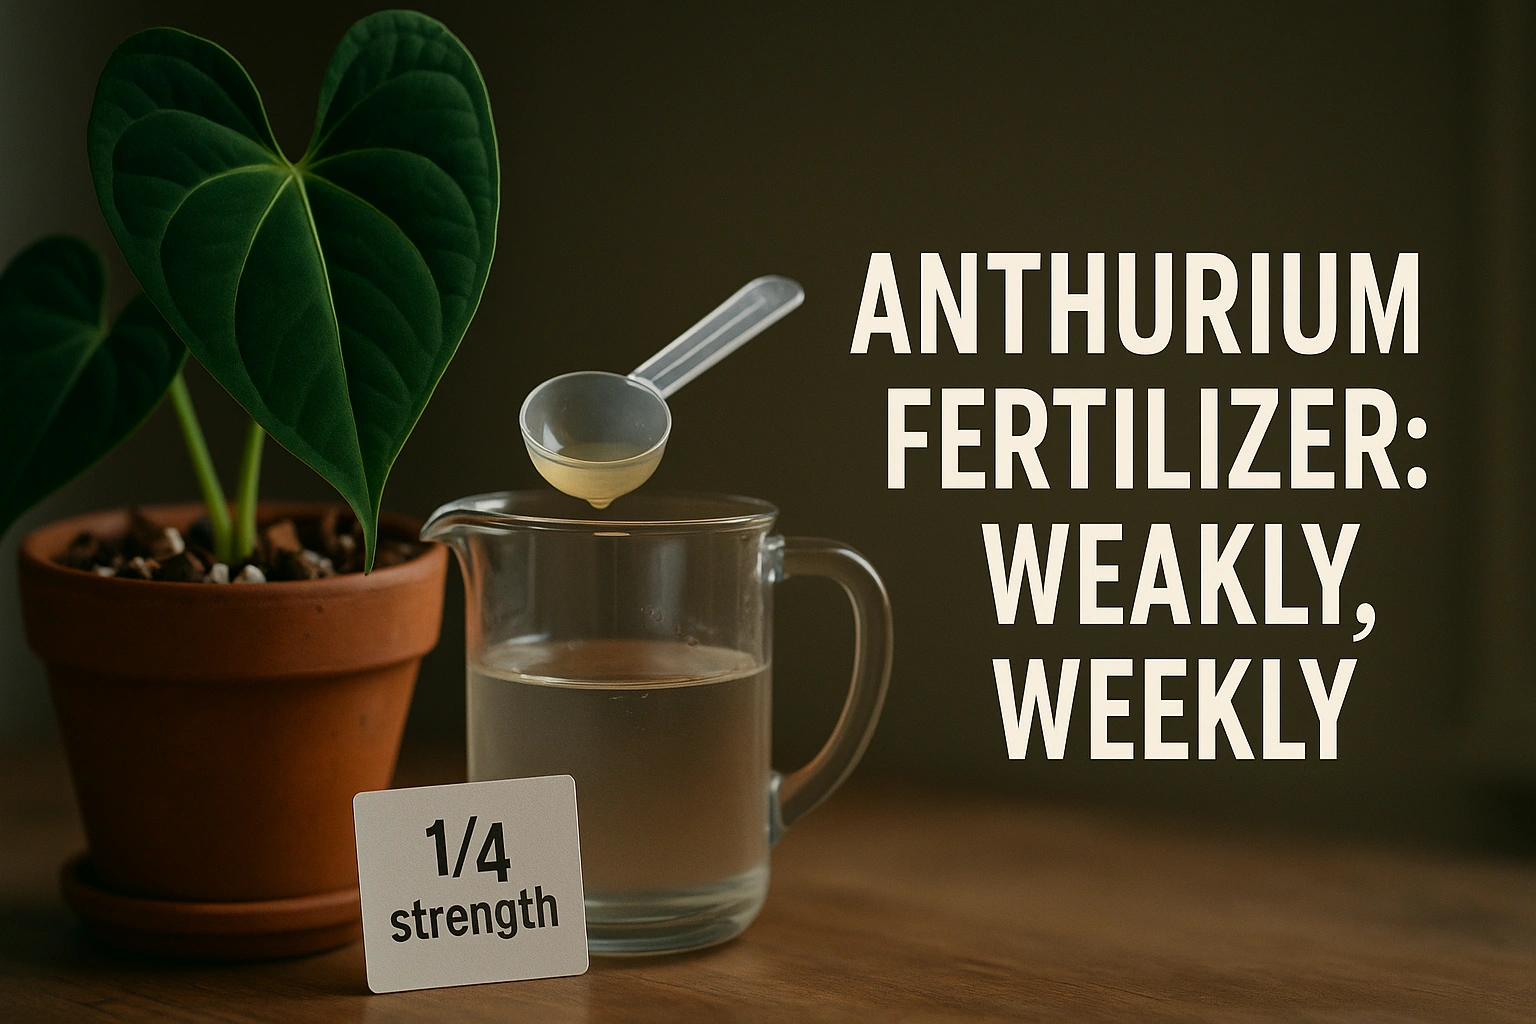
Application Strategy: The “Weakly, Weekly” Method
The safest and most effective way to fertilize anthuriums is to feed them a very dilute solution on a frequent basis during their active growing season (spring and summer).
- Dilute to 1/4 Strength: Take the recommended dosage on your liquid fertilizer label and divide it by four. If it says 1 teaspoon per gallon, use only 1/4 teaspoon per gallon. It’s always better to under-fertilize than to over-fertilize.
- Water First, Then Feed: Never apply fertilizer to a bone-dry plant. This is crucial for preventing root burn. It’s best to incorporate feeding into your regular watering routine. As we discuss in our guide to watering anthuriums, you should always water thoroughly first. Then, you can apply your diluted fertilizer solution.
- Apply During the Growing Season: Use this method with every or every other watering from spring through early fall when the plant is actively putting out new leaves.
- Stop in Winter: Drastically reduce or stop fertilizing completely during the fall and winter when growth naturally slows. The plant isn’t using nutrients, and they will just build up in the soil to toxic levels.
- Flush Periodically: Every 4-6 weeks, skip the fertilizer and water thoroughly with plain, unfertilized water. This helps to flush out any accumulated mineral salts from the potting mix, keeping the roots healthy.
This consistent, gentle approach provides the plant with everything it needs for steady, healthy **growth tips** without the shock of intense feeding.
Common Fertilizing Mistakes to Avoid
| Mistake | Why It’s a Problem | The Fix |
|---|---|---|
| Fertilizing a Dry Plant | Dry roots absorb the fertilizer salts too quickly, causing chemical burn and cell damage. | Always water the plant thoroughly with plain water before applying a diluted fertilizer solution. |
| Using Full Strength | Anthurium roots are sensitive and not adapted to high salt concentrations. It’s the #1 cause of fertilizer burn. | Always dilute to 1/4 or 1/2 of the recommended strength on the package. Less is more. |
| Fertilizing in Winter | The plant is dormant and cannot use the nutrients, leading to toxic salt buildup in the soil. | Stop fertilizing from late fall until you see signs of new growth in early spring. |
| Ignoring Micronutrients | Leads to deficiencies that manifest as stunted, deformed new leaves and poor coloring. | Choose a complete fertilizer that lists micronutrients or use a Cal-Mag supplement. |
Frequently Asked Questions (FAQ)
What is the best NPK ratio for an anthurium fertilizer?
A balanced ratio like 20-20-20 or 10-10-10 is an excellent starting point. The key is not the high numbers themselves, but diluting it properly. A balanced formula ensures the plant gets everything it needs for leaves, roots, and overall health without pushing one type of growth too aggressively.
Can I use orchid fertilizer on my anthurium?
Yes, in many cases, orchid fertilizers are a good choice. They are typically gentle, urea-free, and contain a good range of micronutrients suitable for epiphytes. As always, follow the ‘weakly, weekly’ principle and dilute it to 1/4 or 1/2 strength. The Royal Horticultural Society (RHS) often provides guidance suitable for a range of epiphytic plants.
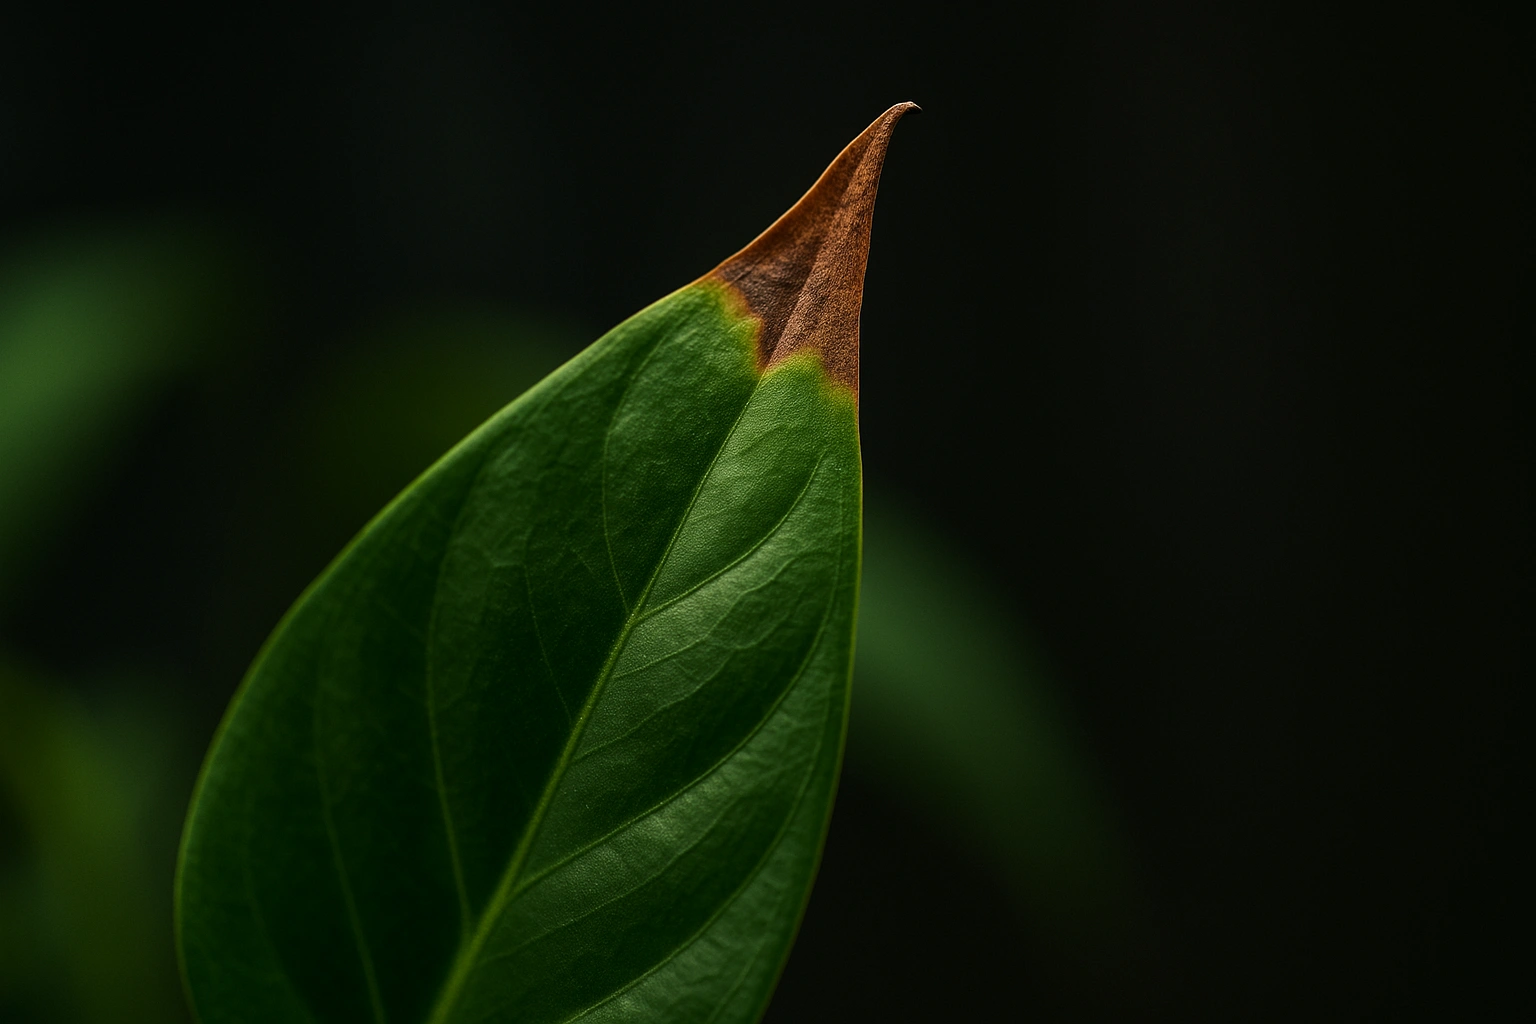
How do I know if I’m over-fertilizing my anthurium?
Signs of over-fertilizing (fertilizer burn) include brown, crispy leaf tips and edges, a white crust forming on the top of the soil, and stunted or slowed growth. If you see these signs, flush the soil thoroughly with plain water at your next watering.
Why are my new anthurium leaves small and deformed?
This is a classic sign of a calcium and/or boron deficiency, which are critical micronutrients for new cell formation. Ensure your fertilizer contains calcium or consider using a Cal-Mag supplement, as many soilless mixes lack these essential elements.
Should I fertilize a newly repotted anthurium?
No. Wait at least 4-6 weeks after repotting before you resume fertilizing. The plant’s roots need time to recover and acclimate to the new substrate. Fertilizing a stressed, newly repotted plant can easily burn its delicate roots.
Conclusion: Feed for Success